How to Harvest Vegetable Seeds in 3 Easy Steps
Once gardeners have experienced a bit of success with growing their own food, many start to wonder if they can harvest vegetable seeds for the next season.
Collecting your own seeds from your backyard garden takes sustainable living to the next level!
You might want to give it a try. Either way, we’ll have all the seeds you need for Fall planting at our next Plant + Seed Sale. We take care to source only the varieties that grow best in the Lowcountry.
STEP 1: PICK THE MOST SUITABLE PLANTS TO EXTRACT SEEDS
Think of it this way: Only collect seeds from the plants you would like more of: the healthiest and the tastiest.
This does create a dilemma. You have to choose: eat it or save it for seed.
Most plants reach maturity for harvesting before they reach maturity for seeds. More on that later.
We recommend you start with the following plants, which all have flowers that are self-pollinating.
Peppers
Beans
Peas
Peppers
Arugula
Cilantro
We do not recommend saving tomato seeds since the plants are 95% likely to have a disease. You don’t want to save seed from any diseased plants as the disease can transfer.
Cross-pollinators, such as corn, cucumbers, melons, squash, and pumpkins, are more complicated, and we don’t recommend them for beginners.
If you have more than one variety of a cross-pollinator growing near each other — butternut and acorn squash, for example, the pollen will end up in the flowers of the other. They produce will be inferior.
Also avoid hybrid varieties.
STEP 2: CHOOSE THE RIGHT TIMING TO COLLECT SEEDS
Like so many things in the garden, timing is everything.
You’ll have to sacrifice eating the crop because the seed matures after the crop matures.
With tomatoes, for example, we recommend you harvest them while they are still green and let them ripen fully on the counter.
But not if you want to save the seeds. They must fully ripen on the plant or they won’t germinate.
For example, for Peppers, allow to fully ripen and wrinkle on the plant before harvest. Allow to dry on a paper towel or newspaper.
With Peas and Beans, allow pods to ripen until dry and starting to turn brown before harvesting. Allow to fully dry before shelling.
STEP 3: STORE SEEDS PROPERLY
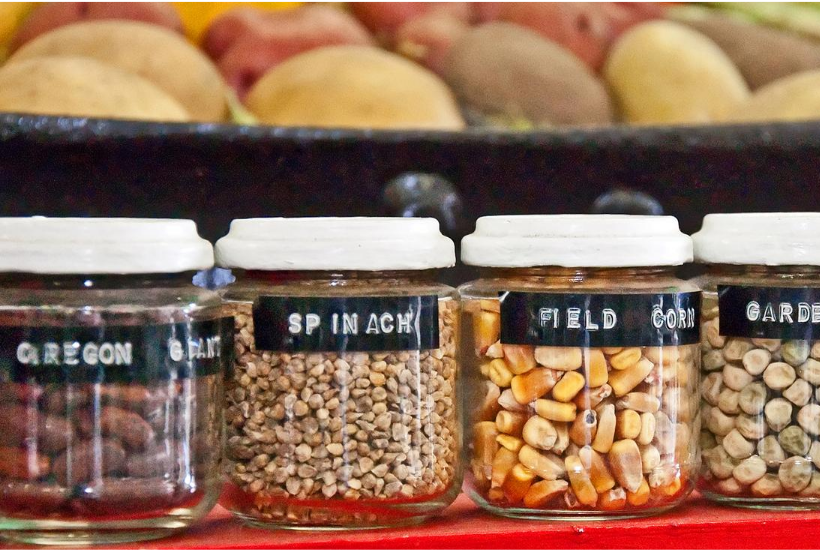
Seeds can last a year or more if you store them properly. The key is to keep them cool and dry.
You can use an envelope or packet for each type of seed. Be sure to label it with the variety and date it was harvested.
All the packets can be stored together in an airtight container such as a glass Mason Jar and kept in the refrigerator or a cool dark area in the house.
You might try including a silica gel packet (the kind that comes in shoeboxes) or calcium chloride to keep the moisture out.
WHAT’S NEXT?
It won’t be long before it’s time to sow the seeds you took such great care to collect and store.
One of our favorite resources for everything related to seeds is the Seed Catalog of Johnny’s Seeds.
We reference it frequently inside the Garden Growers Club, our online membership community.
Inside the Club, we walk you through the process for how to start seeds indoors. It’s an advanced technique, so we include videos to guide you step-by-step.
Hear what others are saying about the Garden Growers Club.
So, are you ready to collect and store your own seeds? Like many things in gardening, we recommend you give it a shot. See how it works and then go from there.
If you’d like more support in your garden, we have several ways to work with you!

